Post by Christian
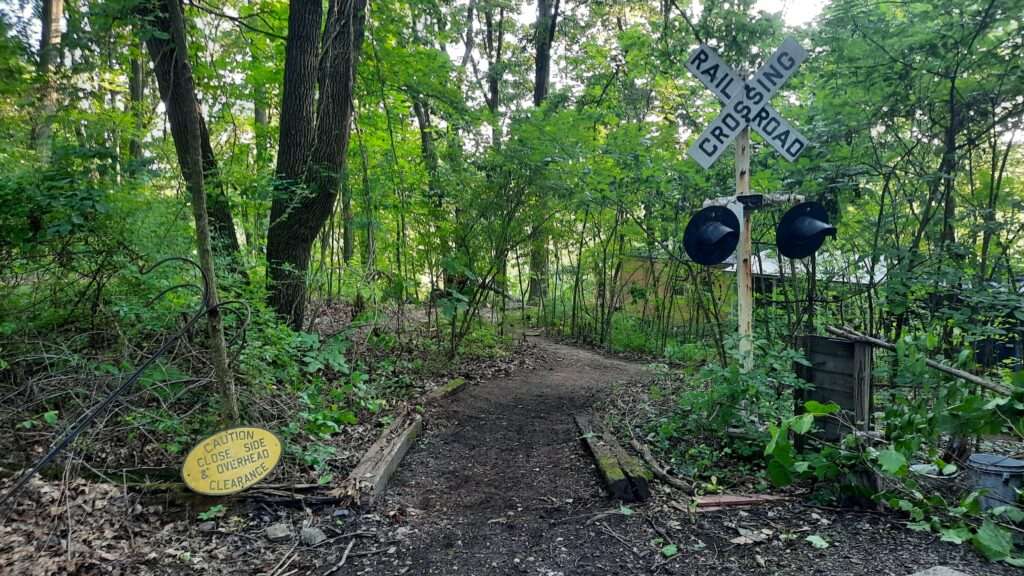
The Main Line Trail is Done
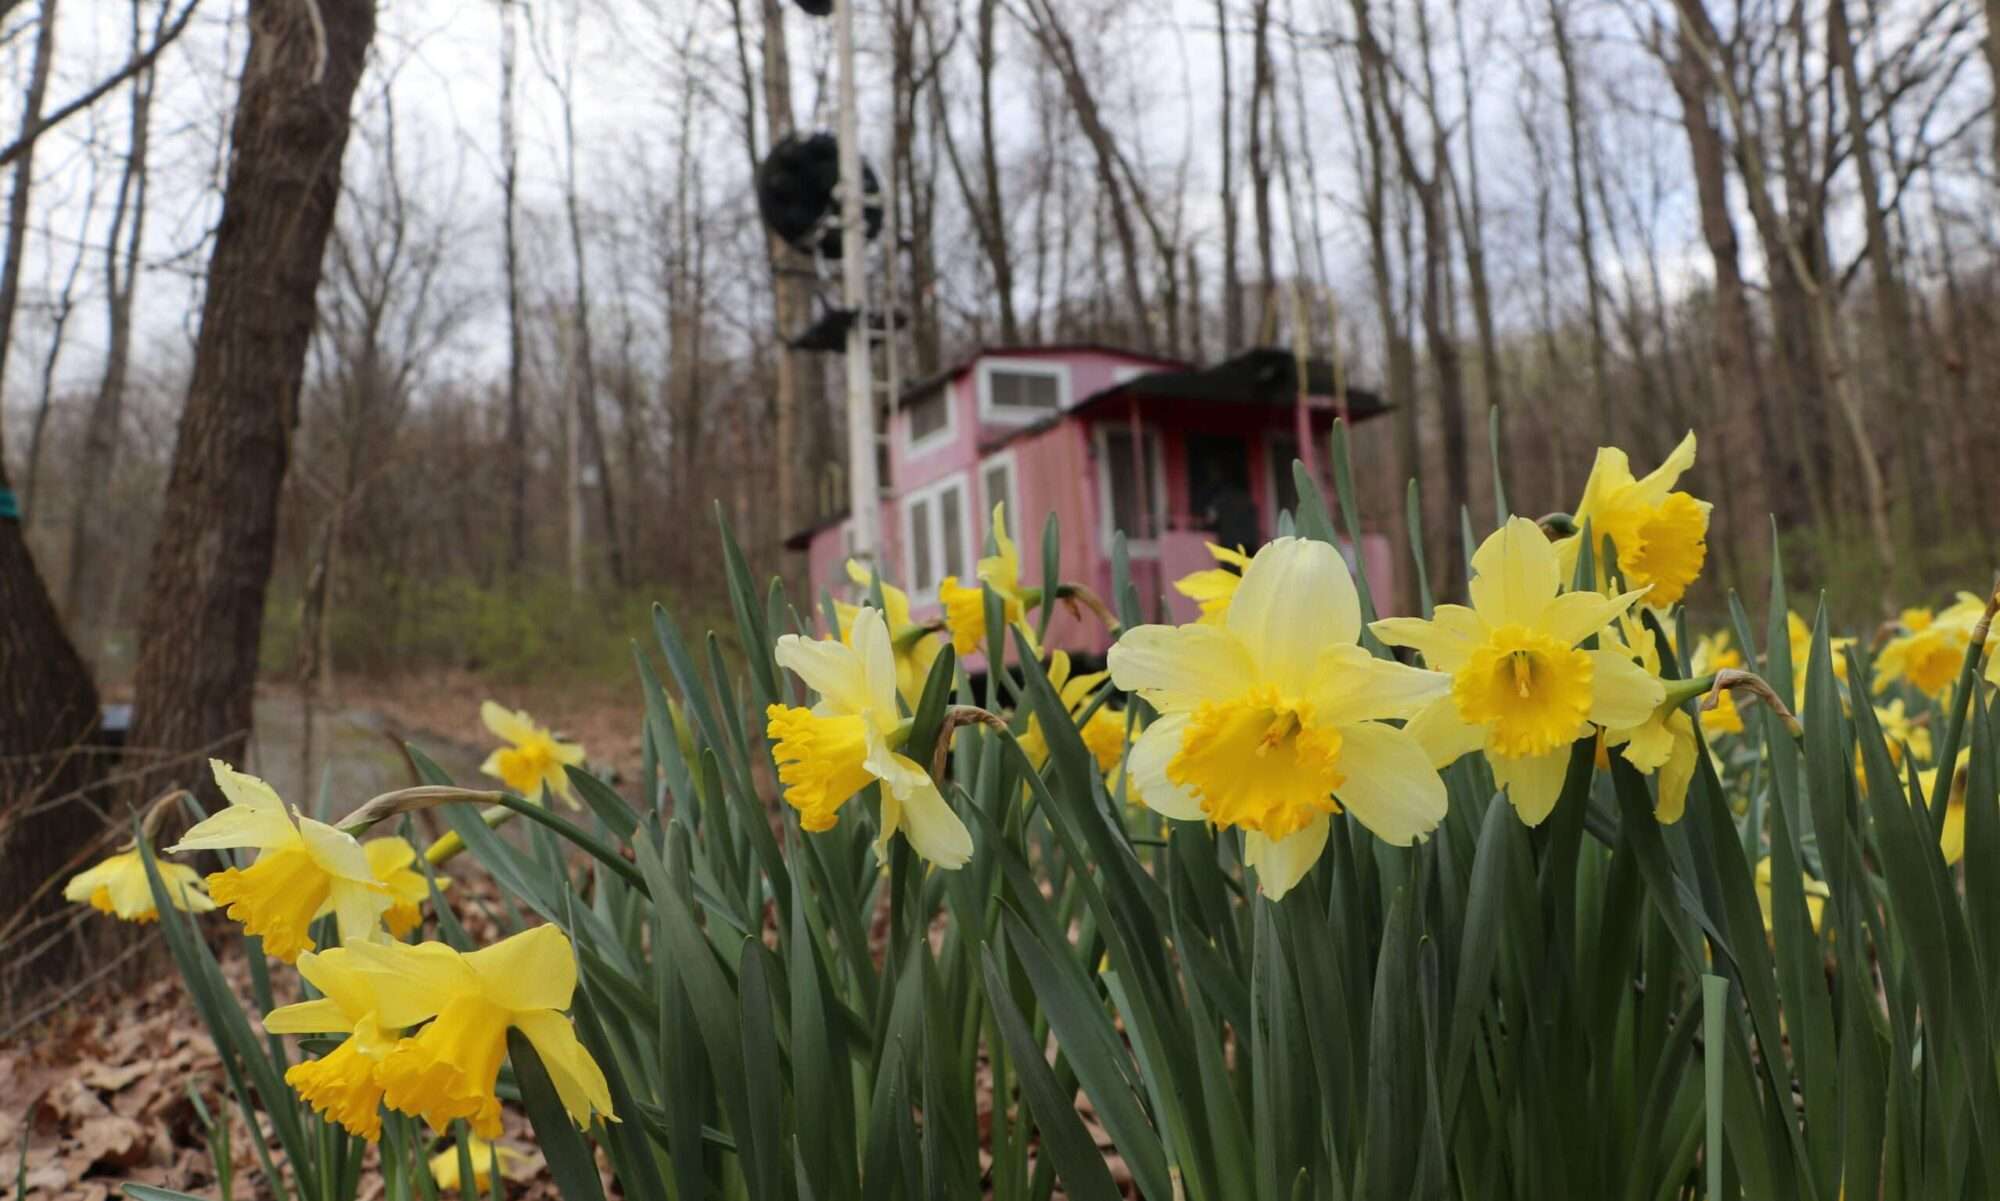
The stairs leading to cabooses 518 and 565 were constructed from used railroad ties and have been in place for over 30 years. Over the years, the ties have deteriorated to the point where they are no longer safe to use. Repairing the stairs was impractical so my family decided to build a new switchback trail that would bypass the stairs and safely lead visitors to our cabooses.
Homeschool Connection
The project quickly became a series of homeschooling lessons. It wasn’t long before I was learning proper techniques for trail building, safe and effective use of hand tools, and strategies for working through difficult terrain and obstacles.
Terms
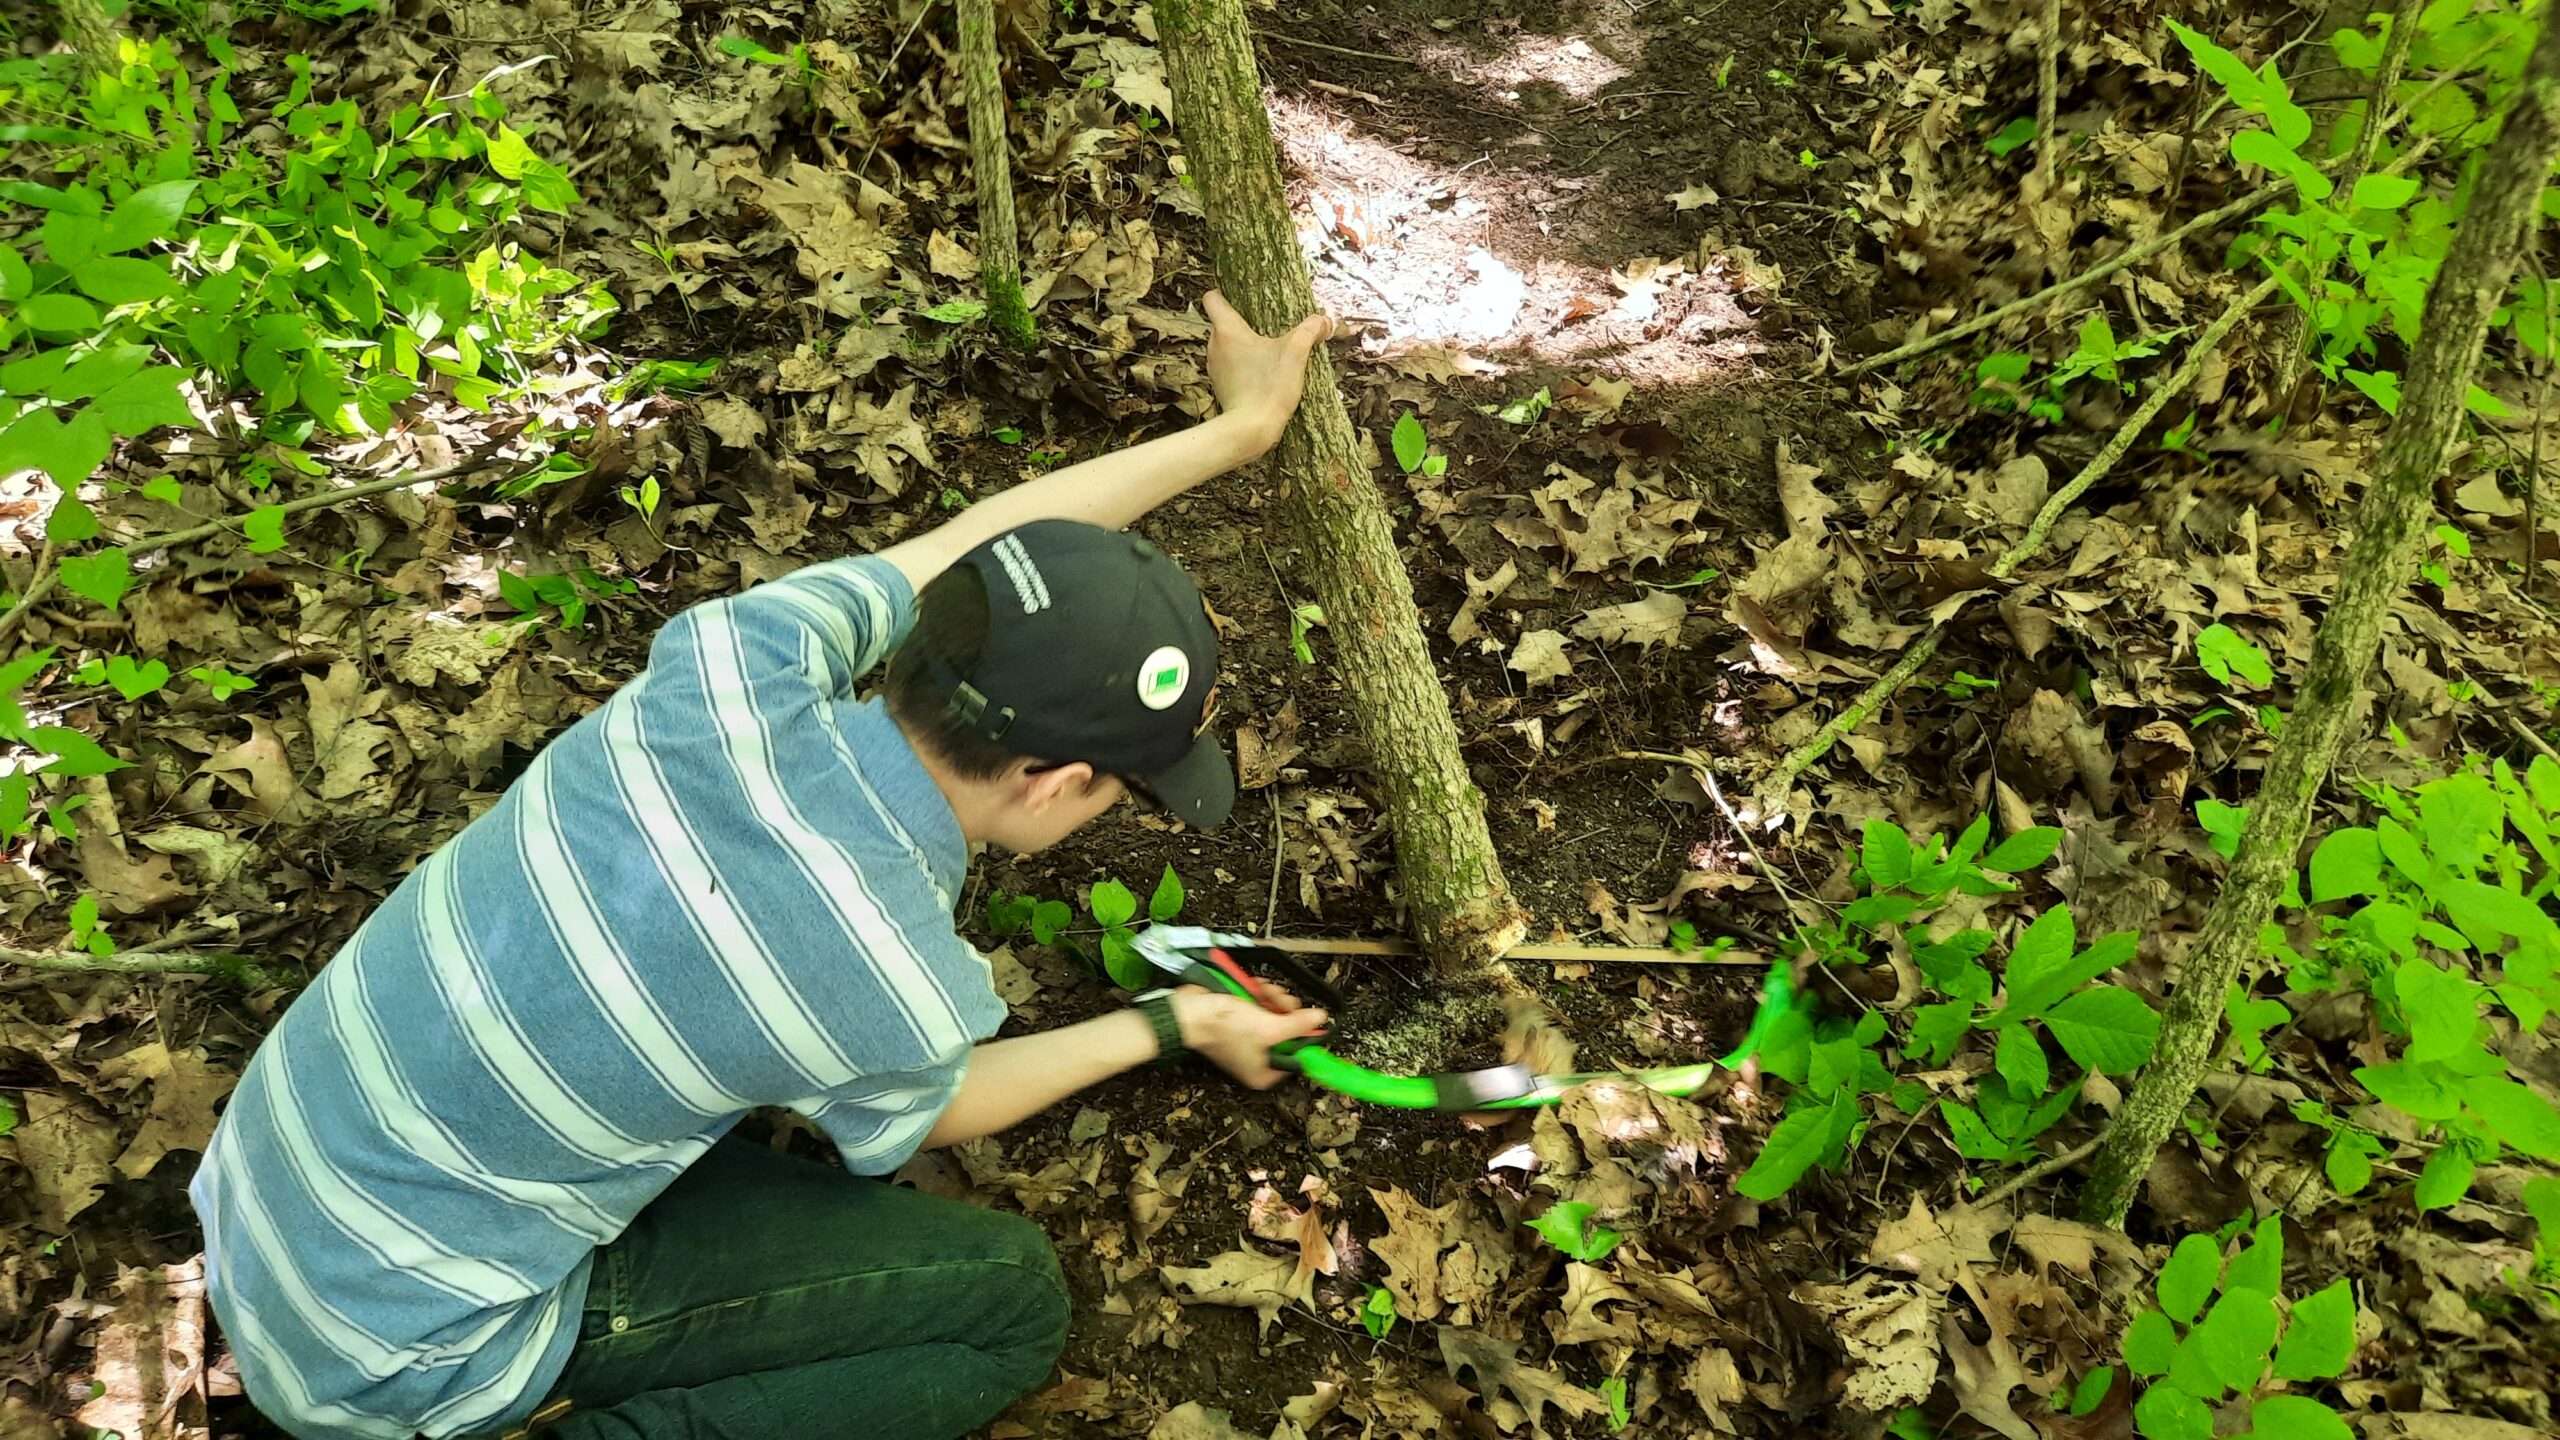
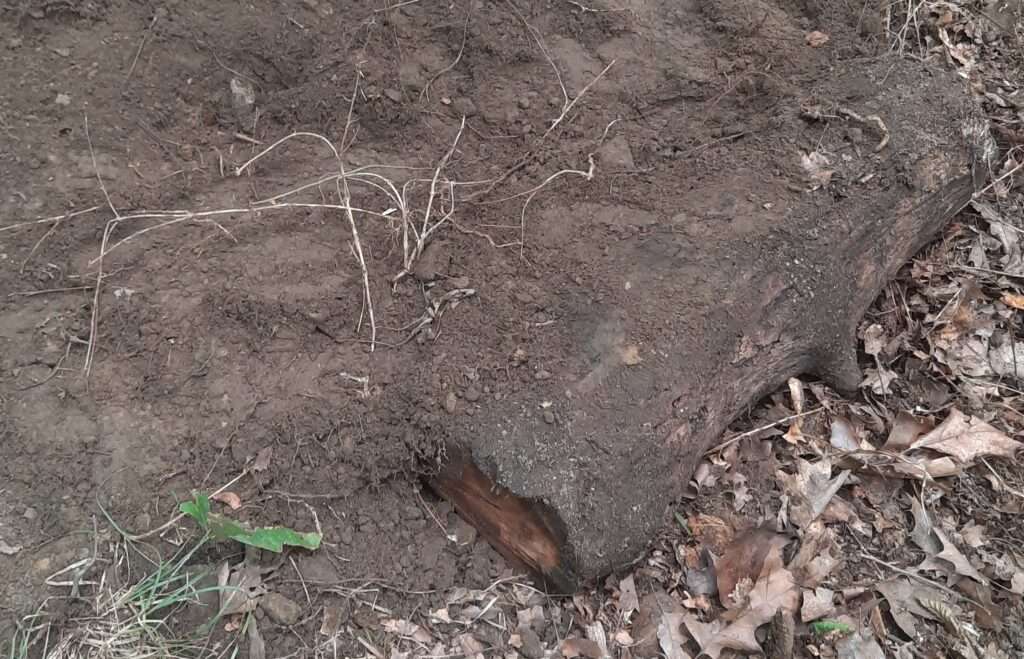
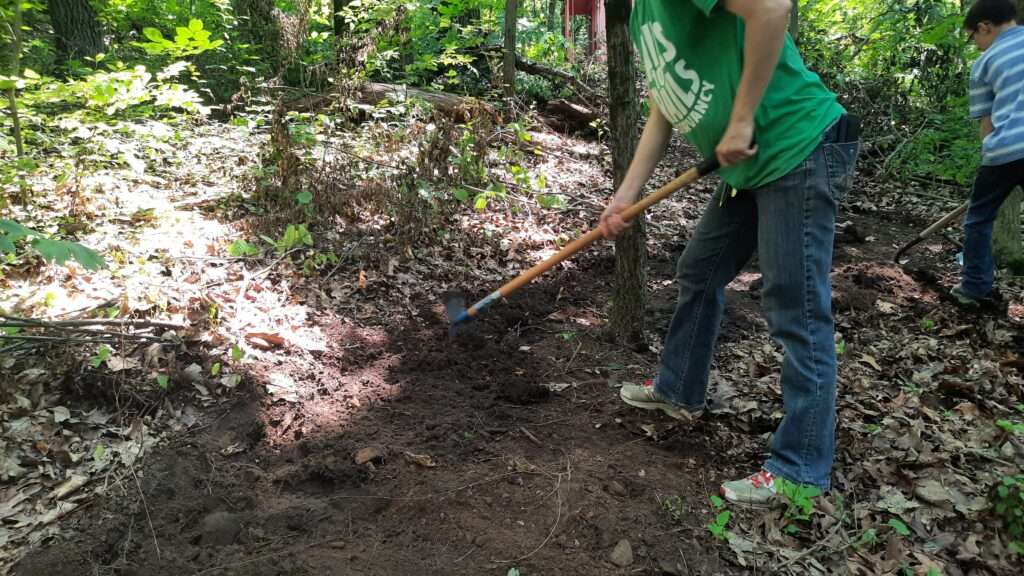
The first things I had to learn were the terms used by trail builders. The part of the trail that we walk on is called the tread. To create a safe tread along a hillside, builders often use a technique called cut and fill. Cut and fill is the process of taking material from the backslope (high side) of a trail and moving it to the outslope (low side). To prevent the fill from easily eroding away, trail builders use a technique called cribbing. Cribbing involves building a wall on the outslope side of a trail. On our trail, we pounded stakes into the ground along the outslope edge and then placed logs between the tread and the stakes. We then packed additional dirt against the cribbing to hold everything in place.
Tools
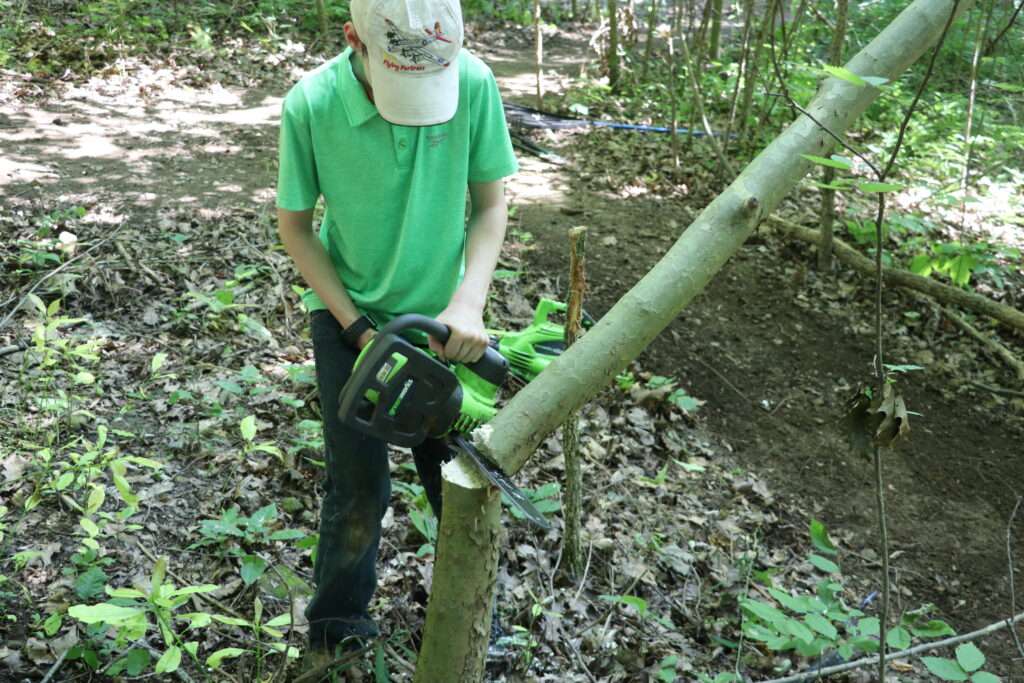
Creating a good trail requires a variety of tools. The first tool needed is a quality pair of loppers to clear branches and small trees less than 2” in diameter for larger trees a chain saw or bow saw is necessary. After clearing the trees and branches, a garden rake is used to clear leaves and debris from where the trail will be established. A mattock, which resembles a pickaxe but with a wide flat blade, is then used to make cuts, pry out rocks and roots, and smooth trail edges. A common shovel is used to move material from the cuts to the fill side of the trail. Finally, a landscape rake, which is a wide garden rake, is used to level the trail by smoothing high spots and filling low spots.

Challenges
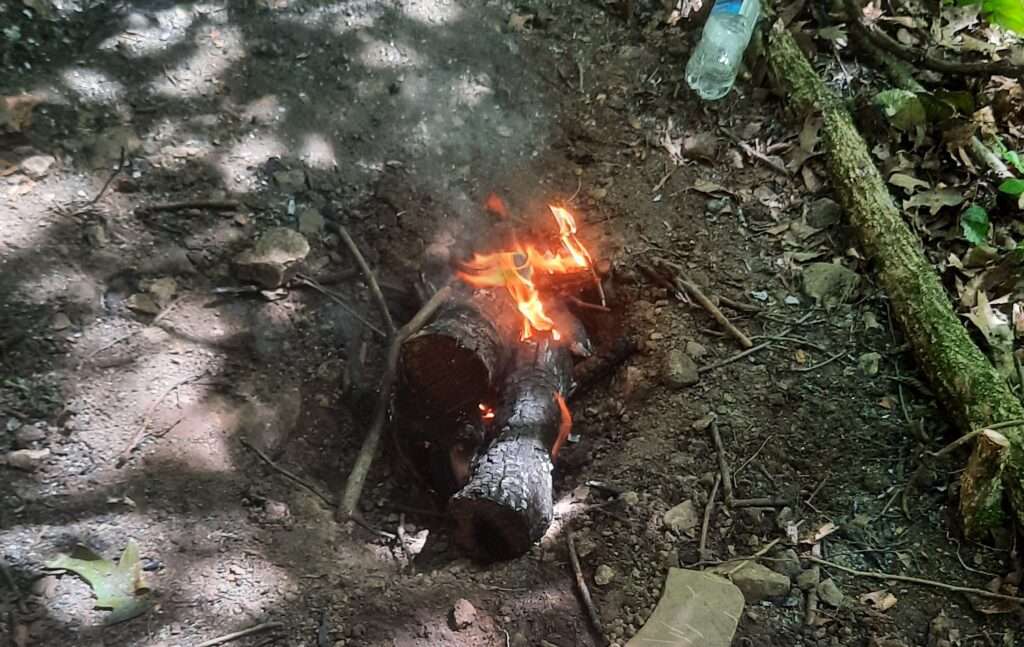
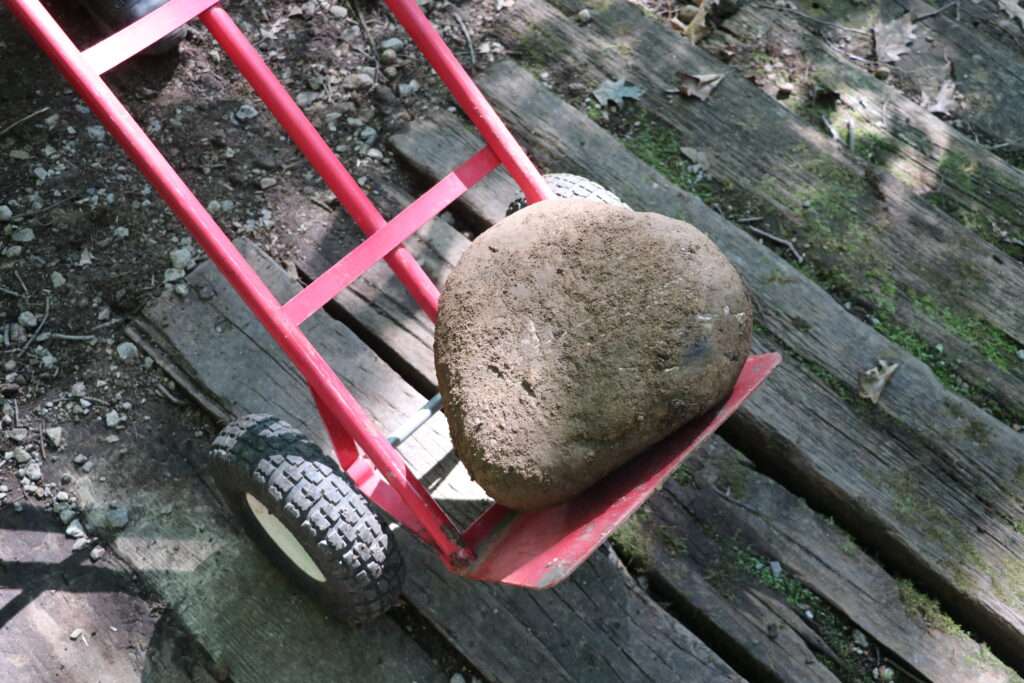
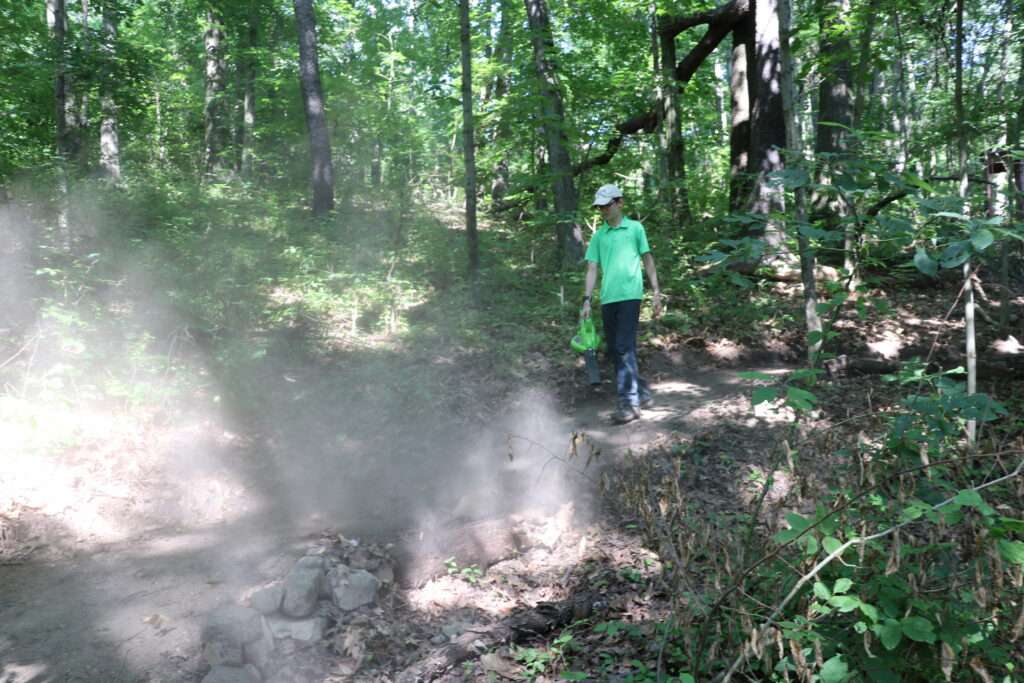
In building our trail we faced a few challenges. For example, we had to dig out and remove stones the size of milk jugs. Many of these stones were used as cribbing along the trails edge. We also had to cut through an area of gravel which was hard to dig through. The most difficult obstacles were the tree stumps. Some were removed by prying them out of the ground, others by chopping them with a camp axe, but the most stubborn stumps had to be burned were they were.

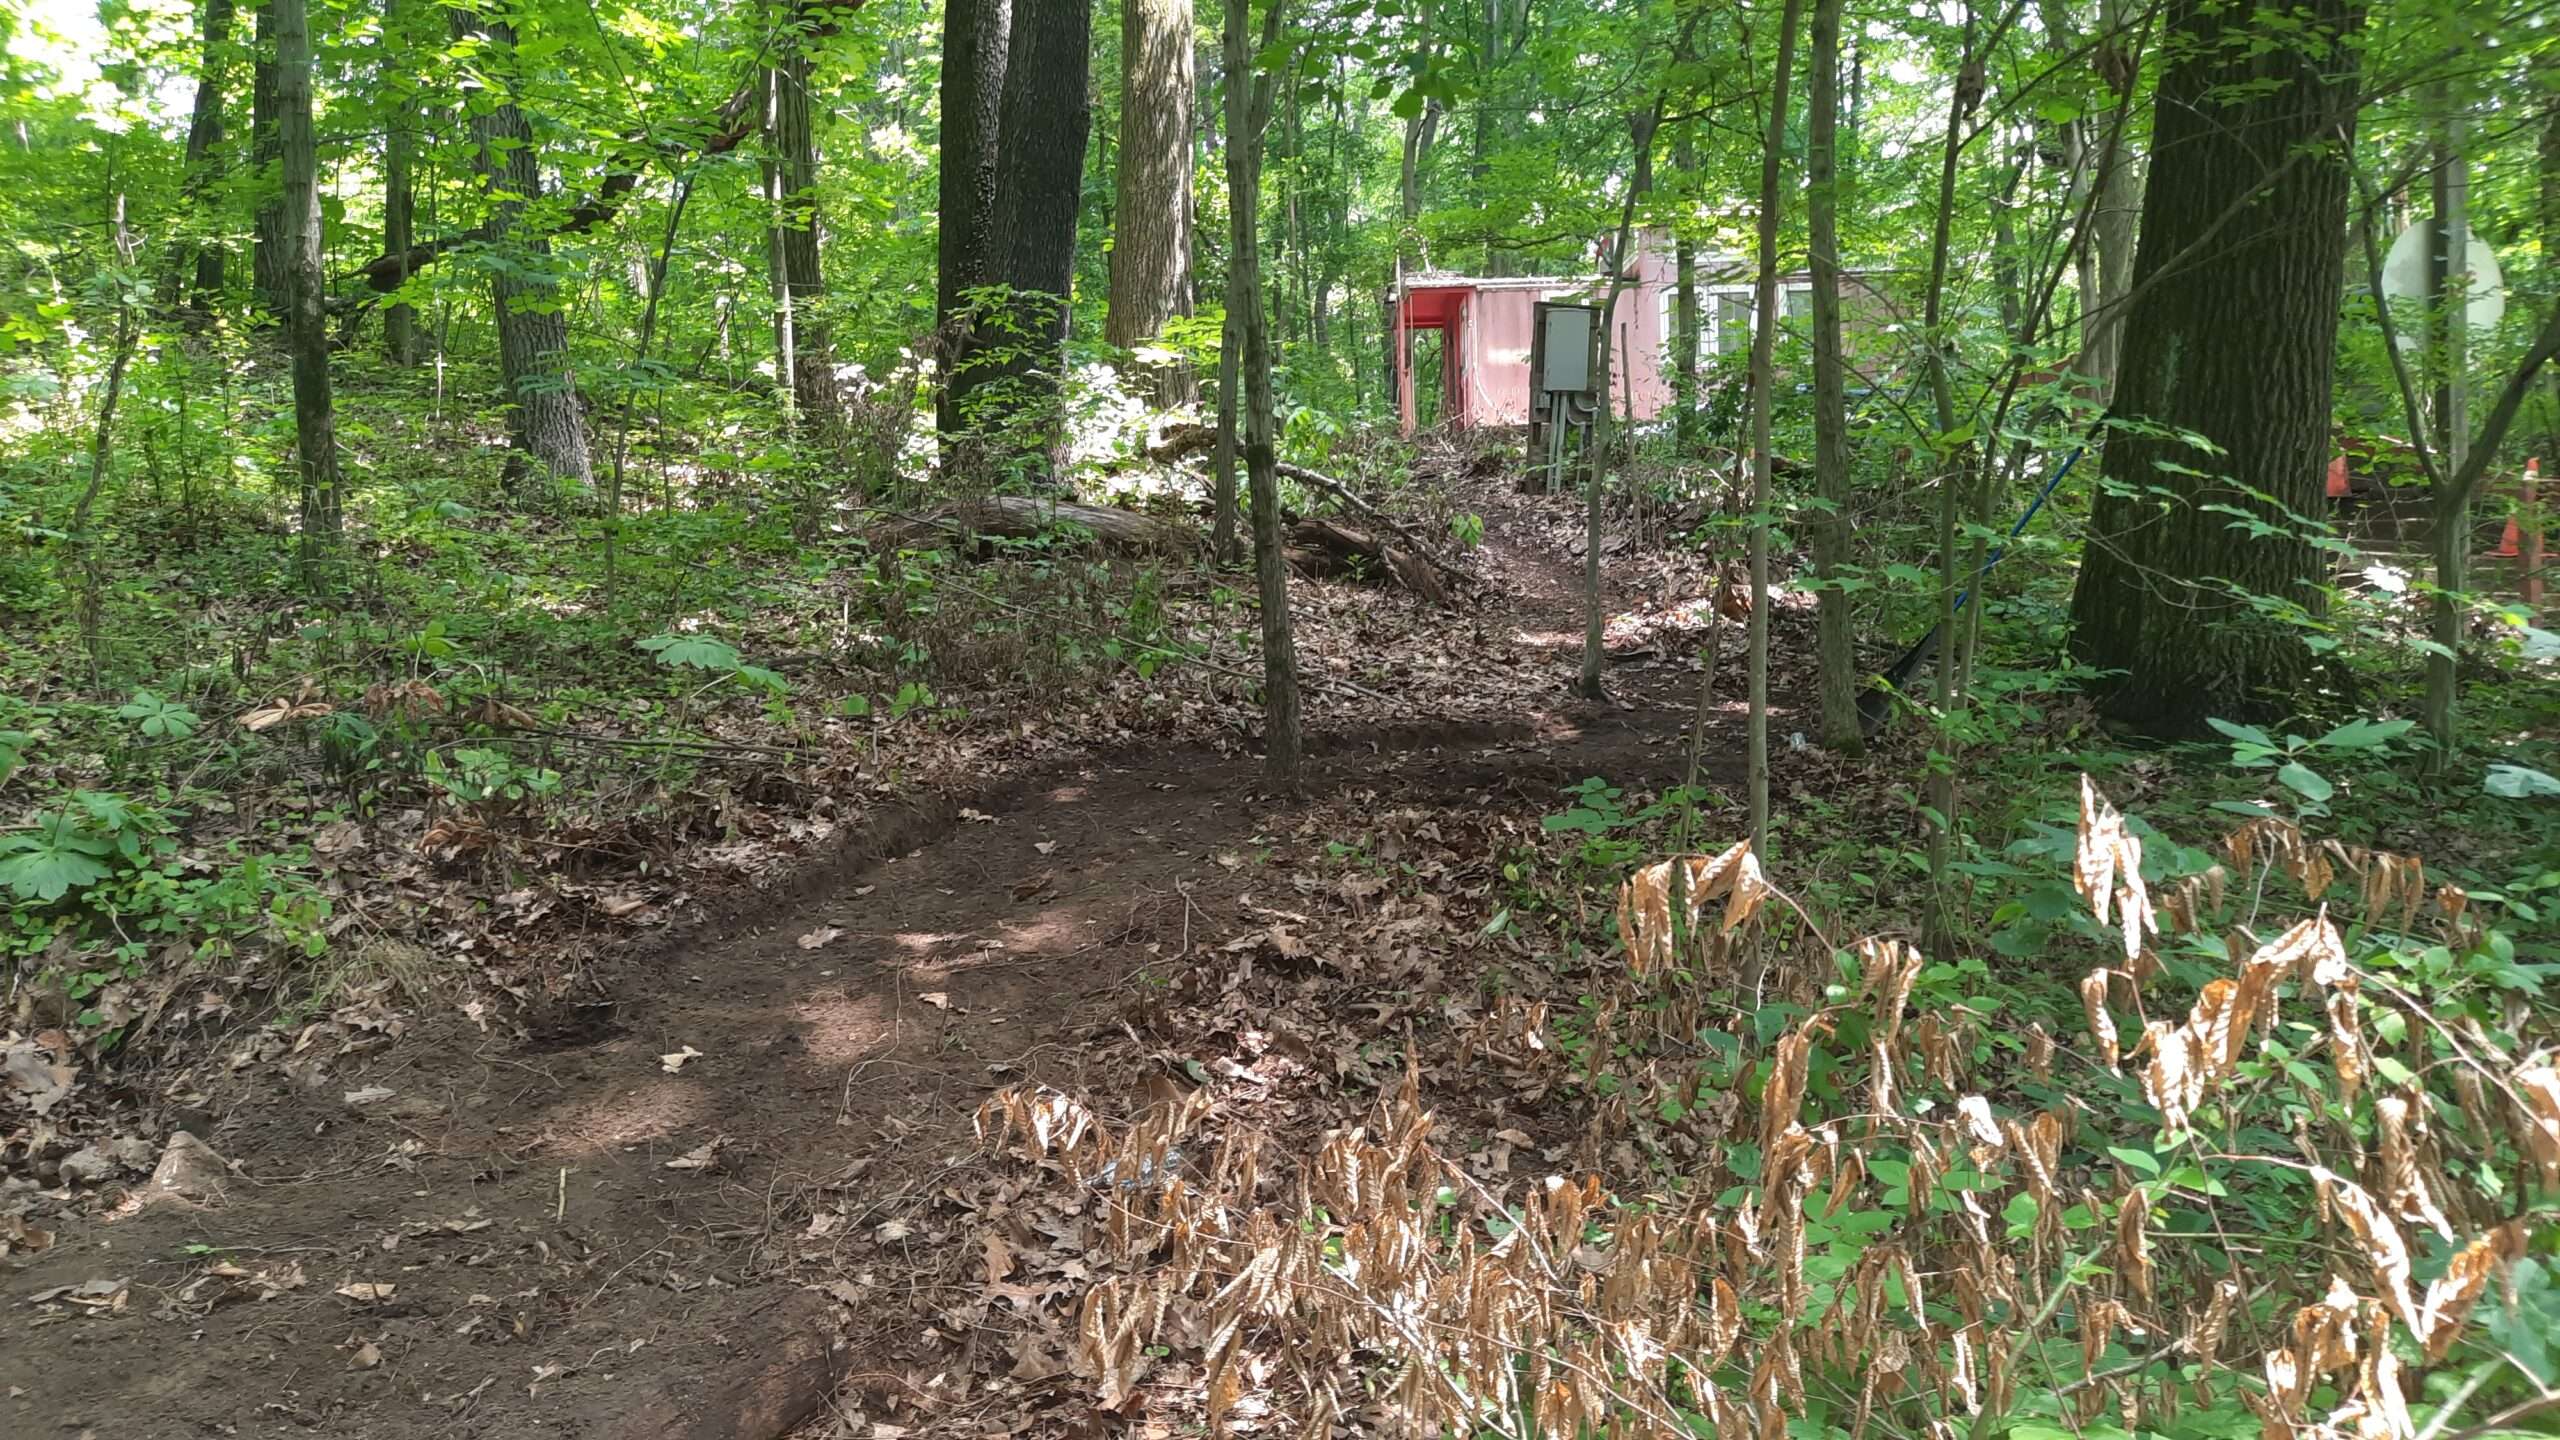
After several weekends of work, we finally finished the trail.